


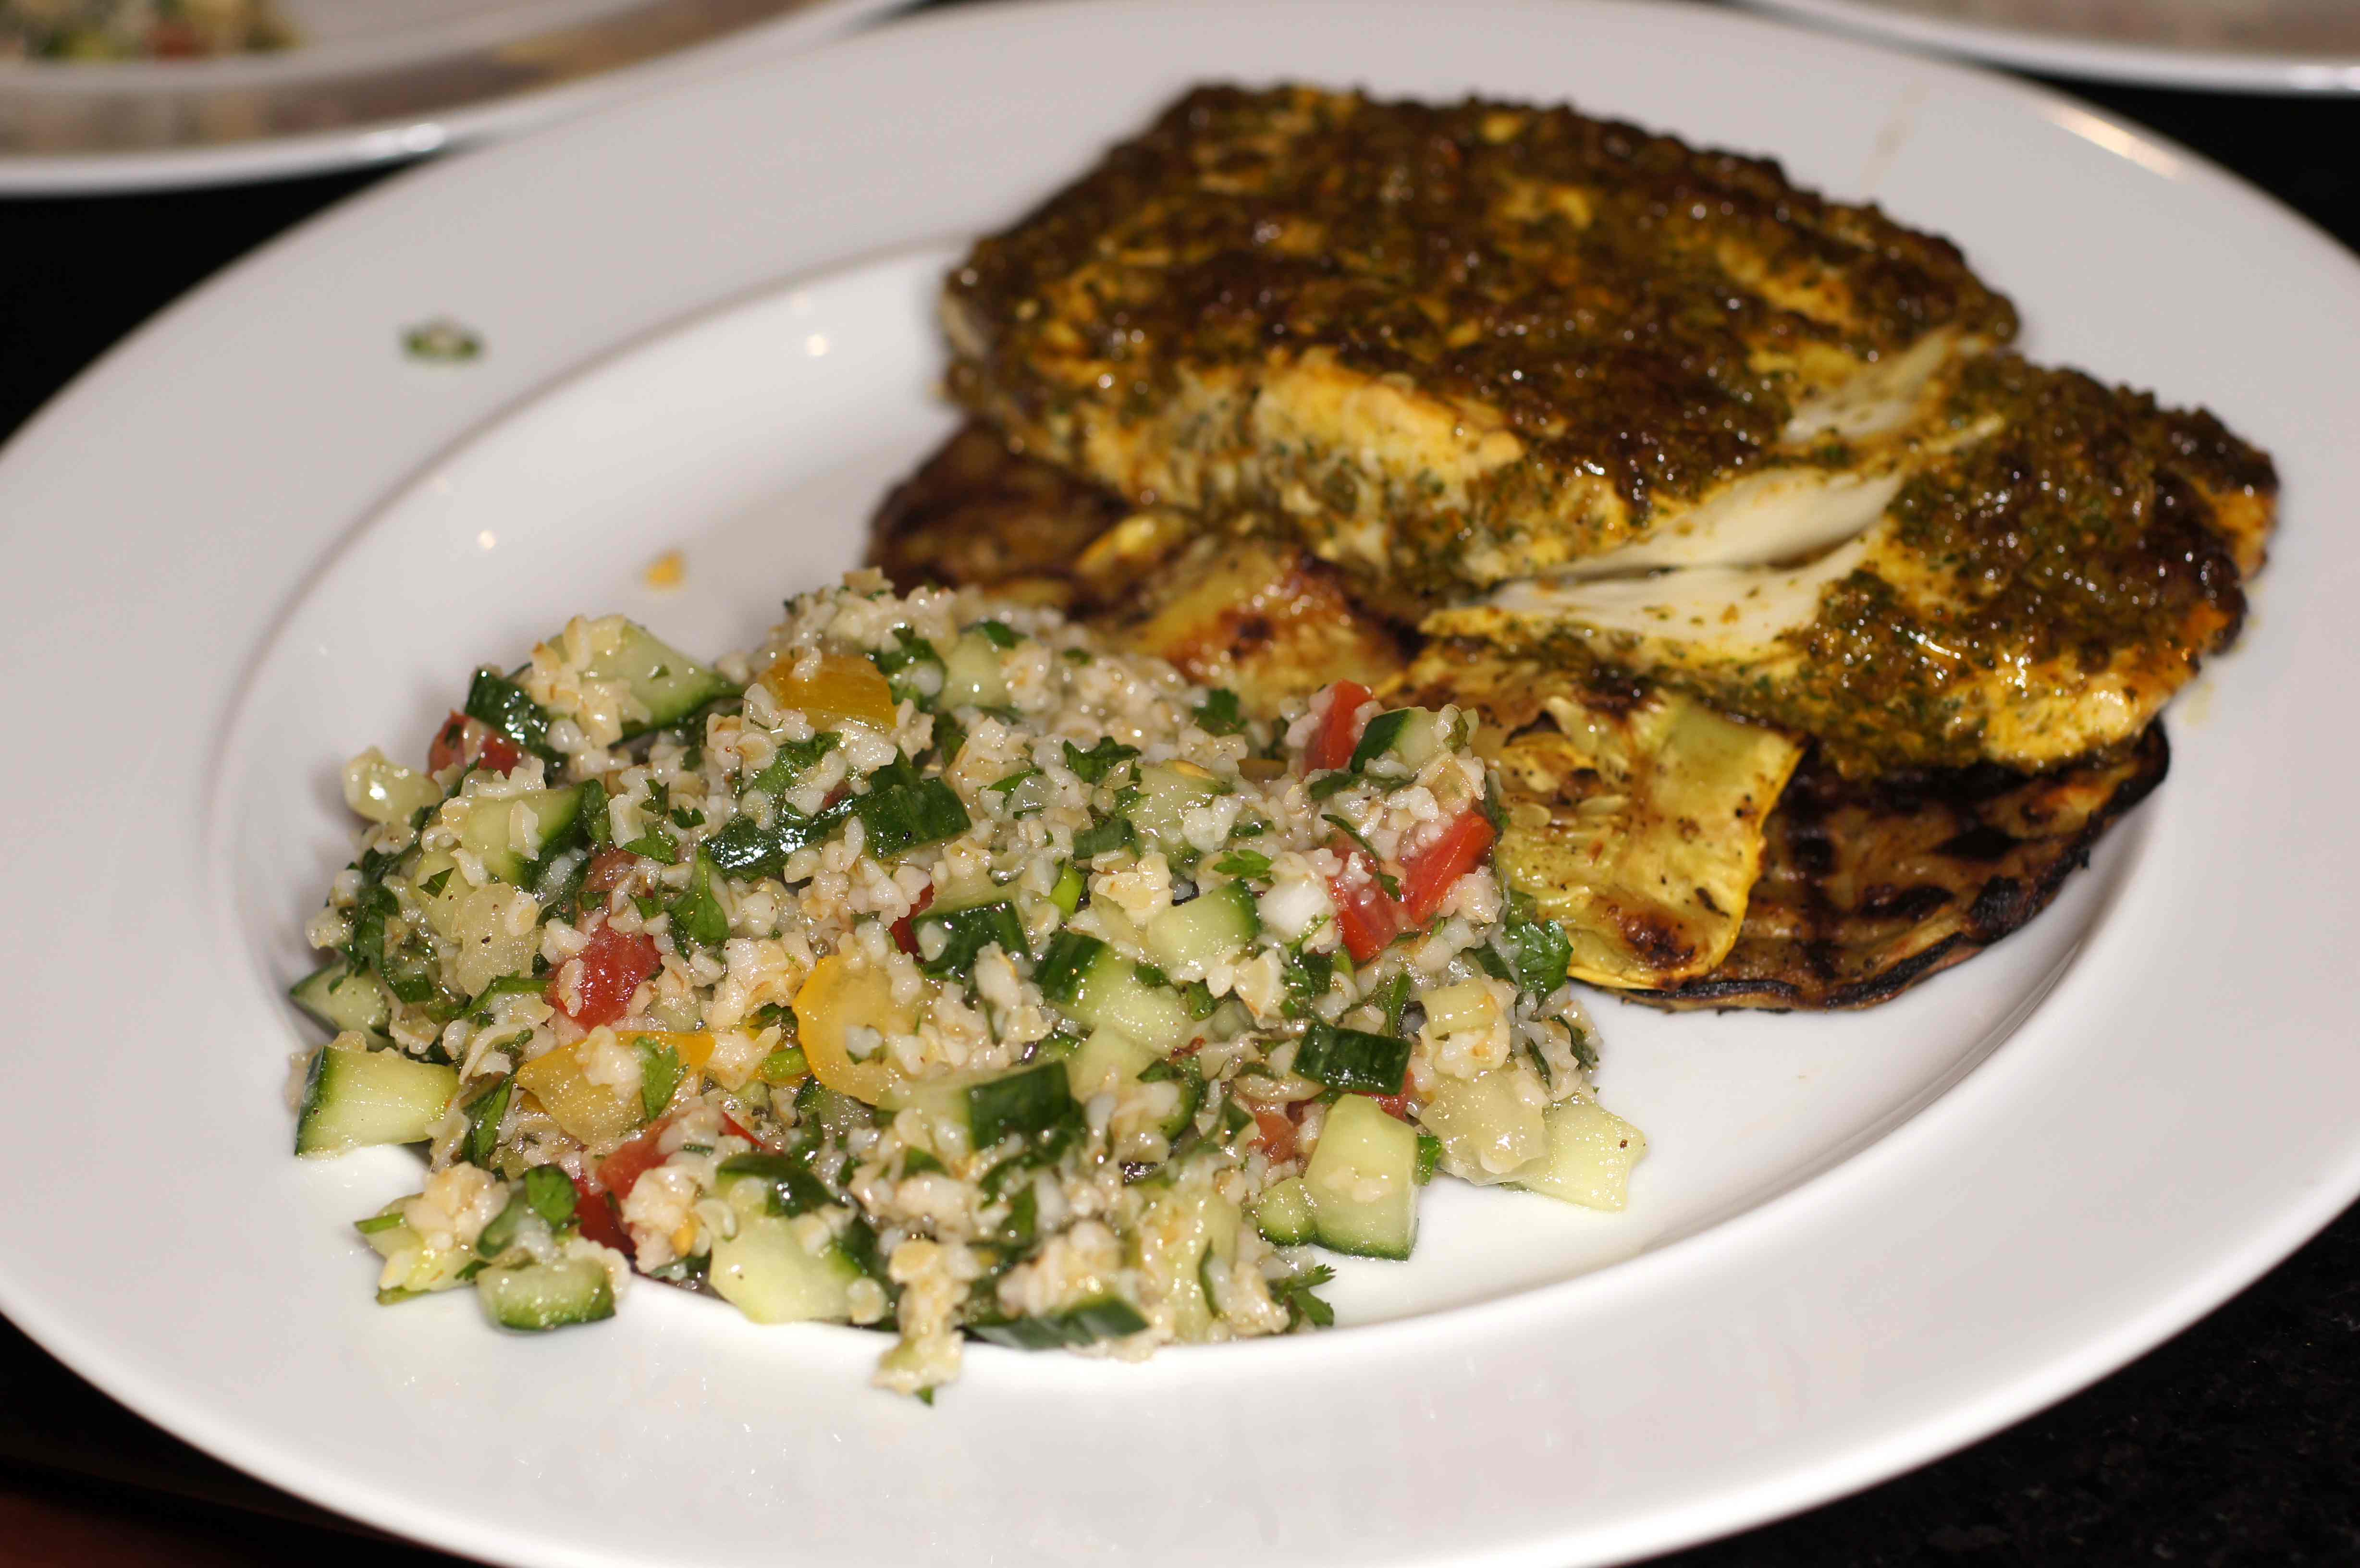
This is the other side we served with Moroccan Style Grilled Halibut with Grilled Veggies. It was the perfect compliment and is amazingly easy to fix.
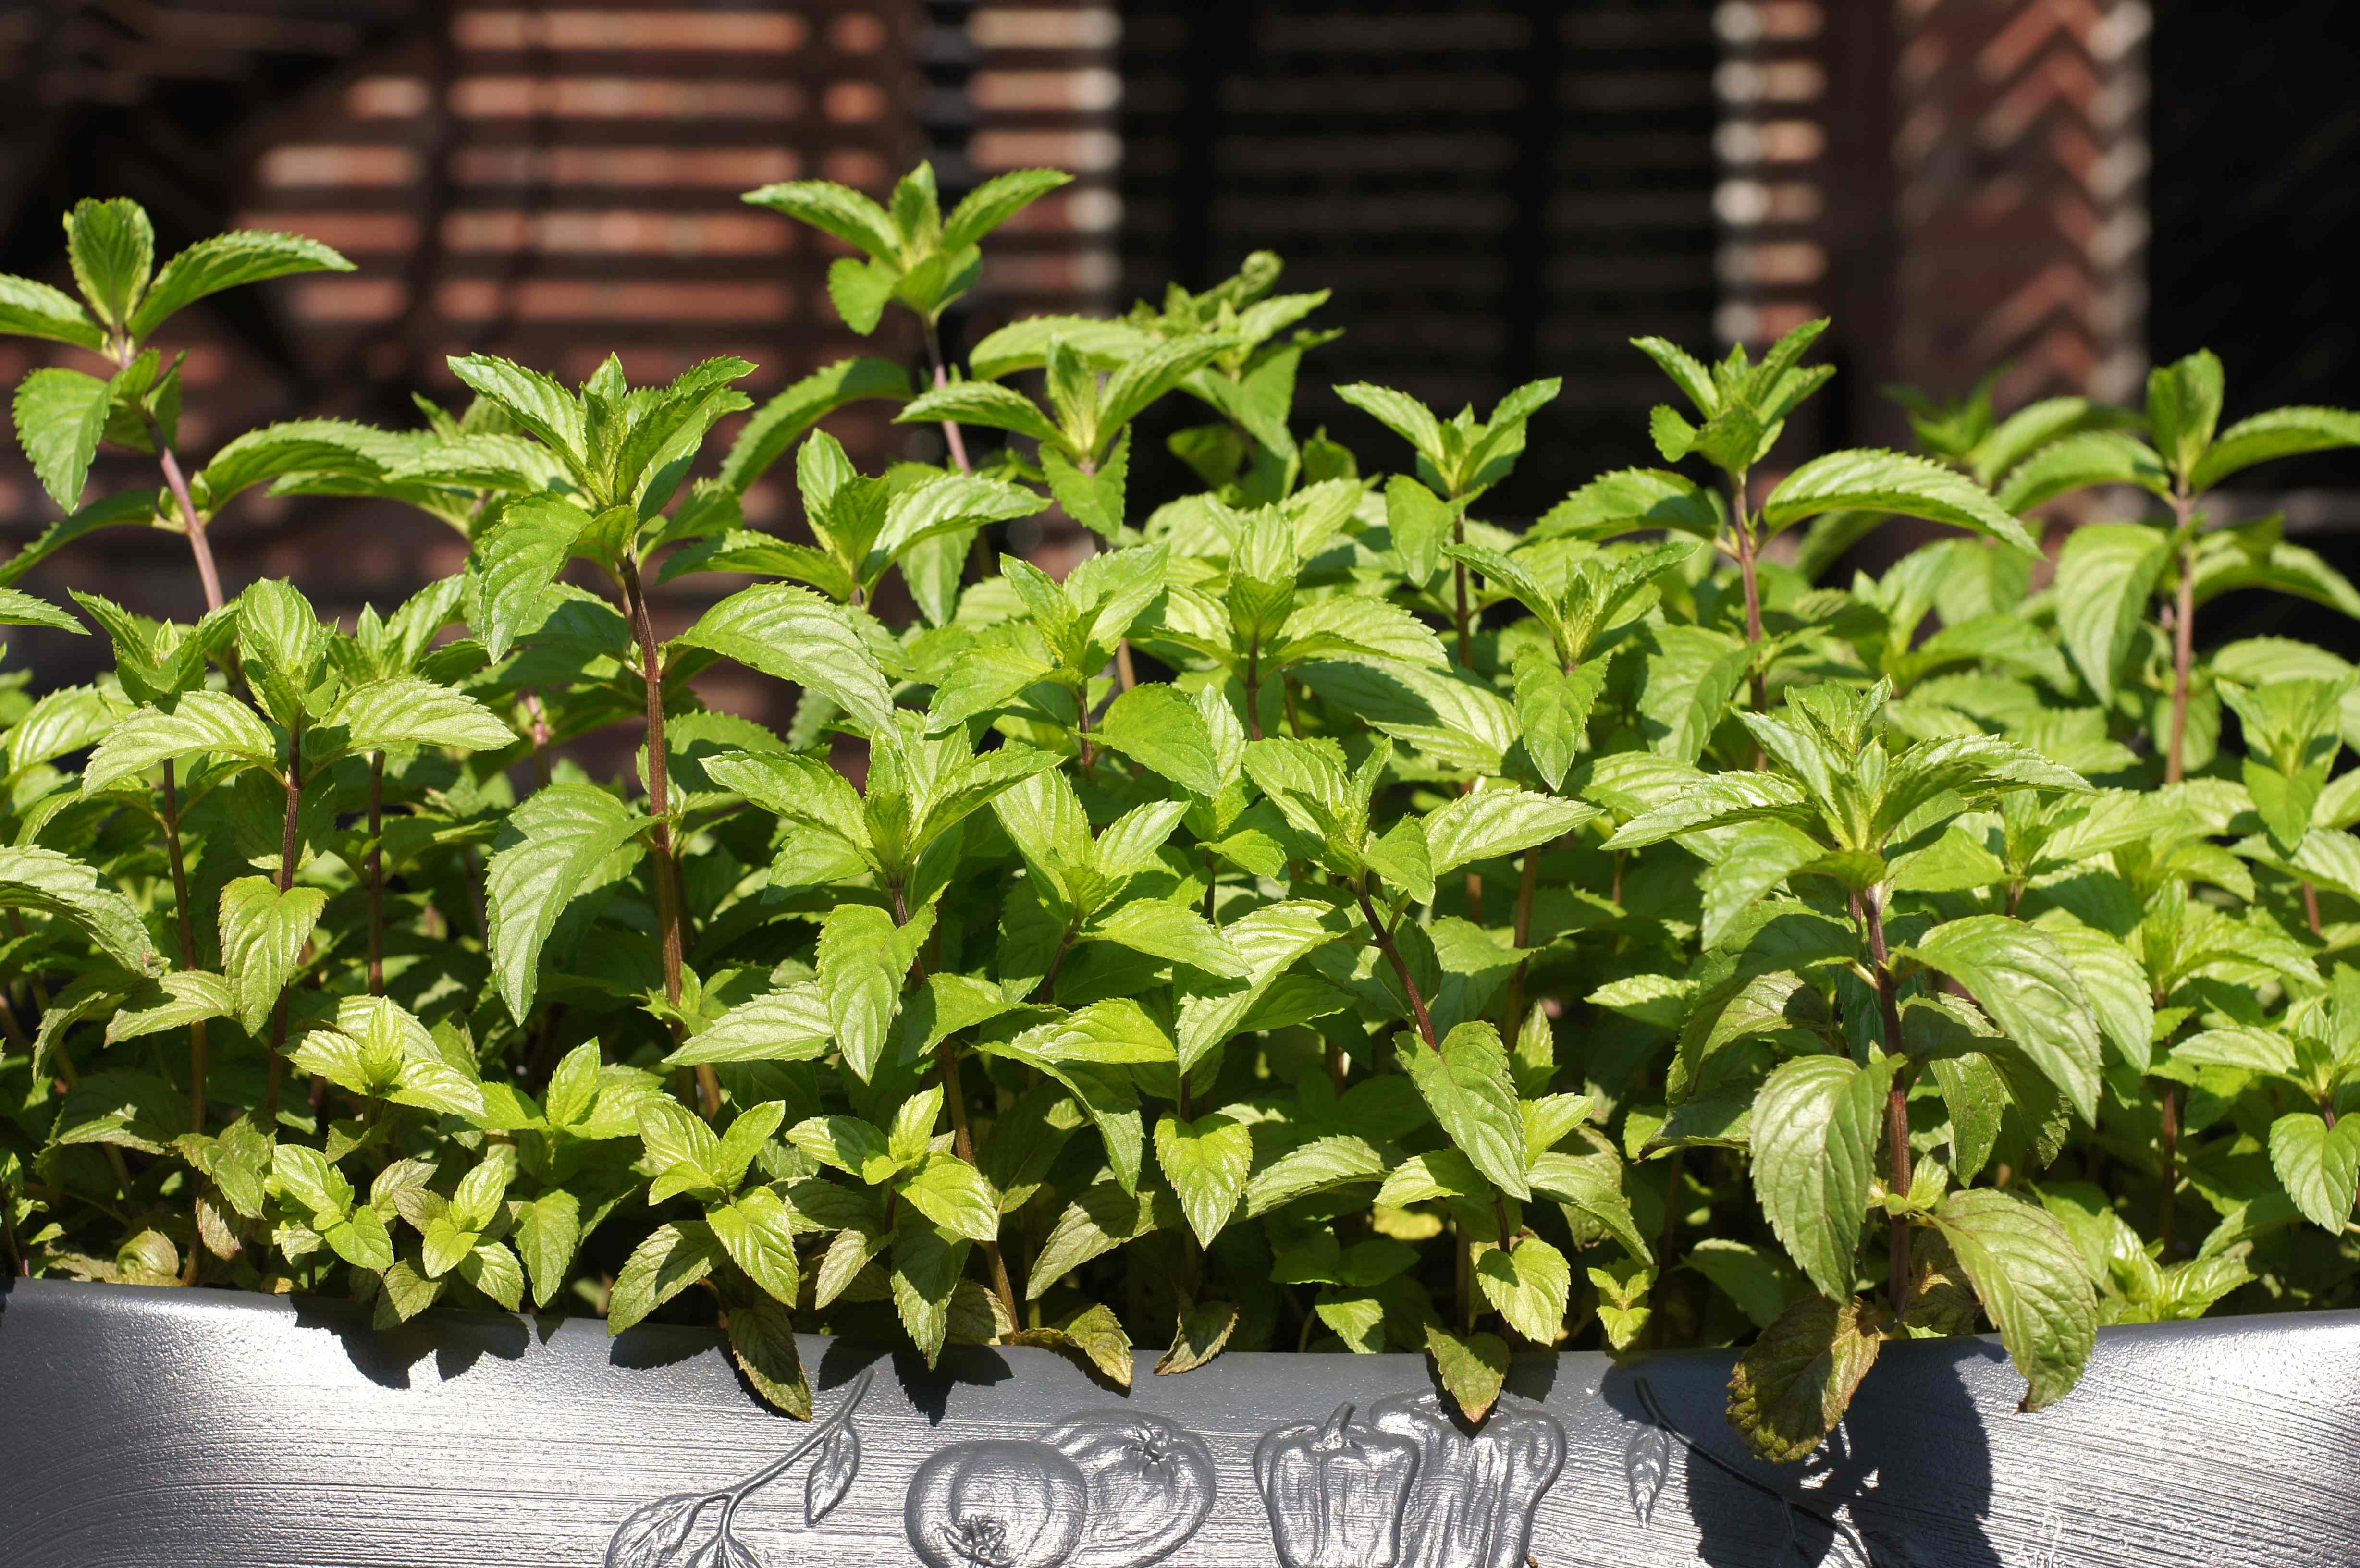
As Baby Lady & I were preparing the Moroccan Style Grilled Halibut we were contemplating what to use as the final side. We needed some type of starch that would compliment the meal. As we were discussing it, I went out to the garden to harvest some parsley for use with the charmoula. While outside I stopped to admire the garden. The moderate climate we have experienced this Spring has done wonders for the plants. Here is my beautiful mint.
It was then I realized tabbouleh would be the perfect accompaniment for the Moroccan Style Grilled Fish and I could use my lovely fresh mint. Indeed, some people consider tabbouleh to be the ideal food of the Mediterranean diet. Although it originated in the mountains of Lebanon and Syria, it spread in favor throughout the Middle east and Mediterranean region. In fact, tabbouleh is widely popular in Middle Eastern cuisines and is a primary ingredient in kibbeh and tabbouleh. It is also used with falafels, among other dishes. In Turkey you will find a red tabbouleh (Kısır) made with tomato paste or sauce. Not surprisingly, it became immensely popular in the US, as well. Of course, once introduced to the US, it gets “americanized.” Nowadays you see tabbouleh used in a variety of settings from a simple salad, to a side dish like we did here, to a main entree with chicken, fish or other heartier ingredients. It really is pretty versatile and every kitchen should have at least one tabbouleh recipe. This is our basic recipe.
Ingredients
- 1 cup bulgur
- 2 cups water
- 1/2 cup lemon juice
- 1/2 cup olive oil
- 1 cup parsley, chopped
- 1 cup mint, chopped
- 1 cup red tomato, small dice
- 1 cup yellow tomato, small dice
- 1 English cucumber, seeded and diced, small dice
- 1 cup spring onion (both white and green), small dice
- 2 tsp sea salt
- 1 tsp freshly ground black pepper

Instruction
Add 1 cup bulgur to a vessel (I use a large measuring cup). Bring 2 cups of water to a boil and our over the bulgur. Cover and let it sit for 1 hour. Notice that this yields roughly 2-1/2 to 2-3/4 cups of cooked bulgur.

Add bulgur to a large bowl

Now add the cucumber

the onion
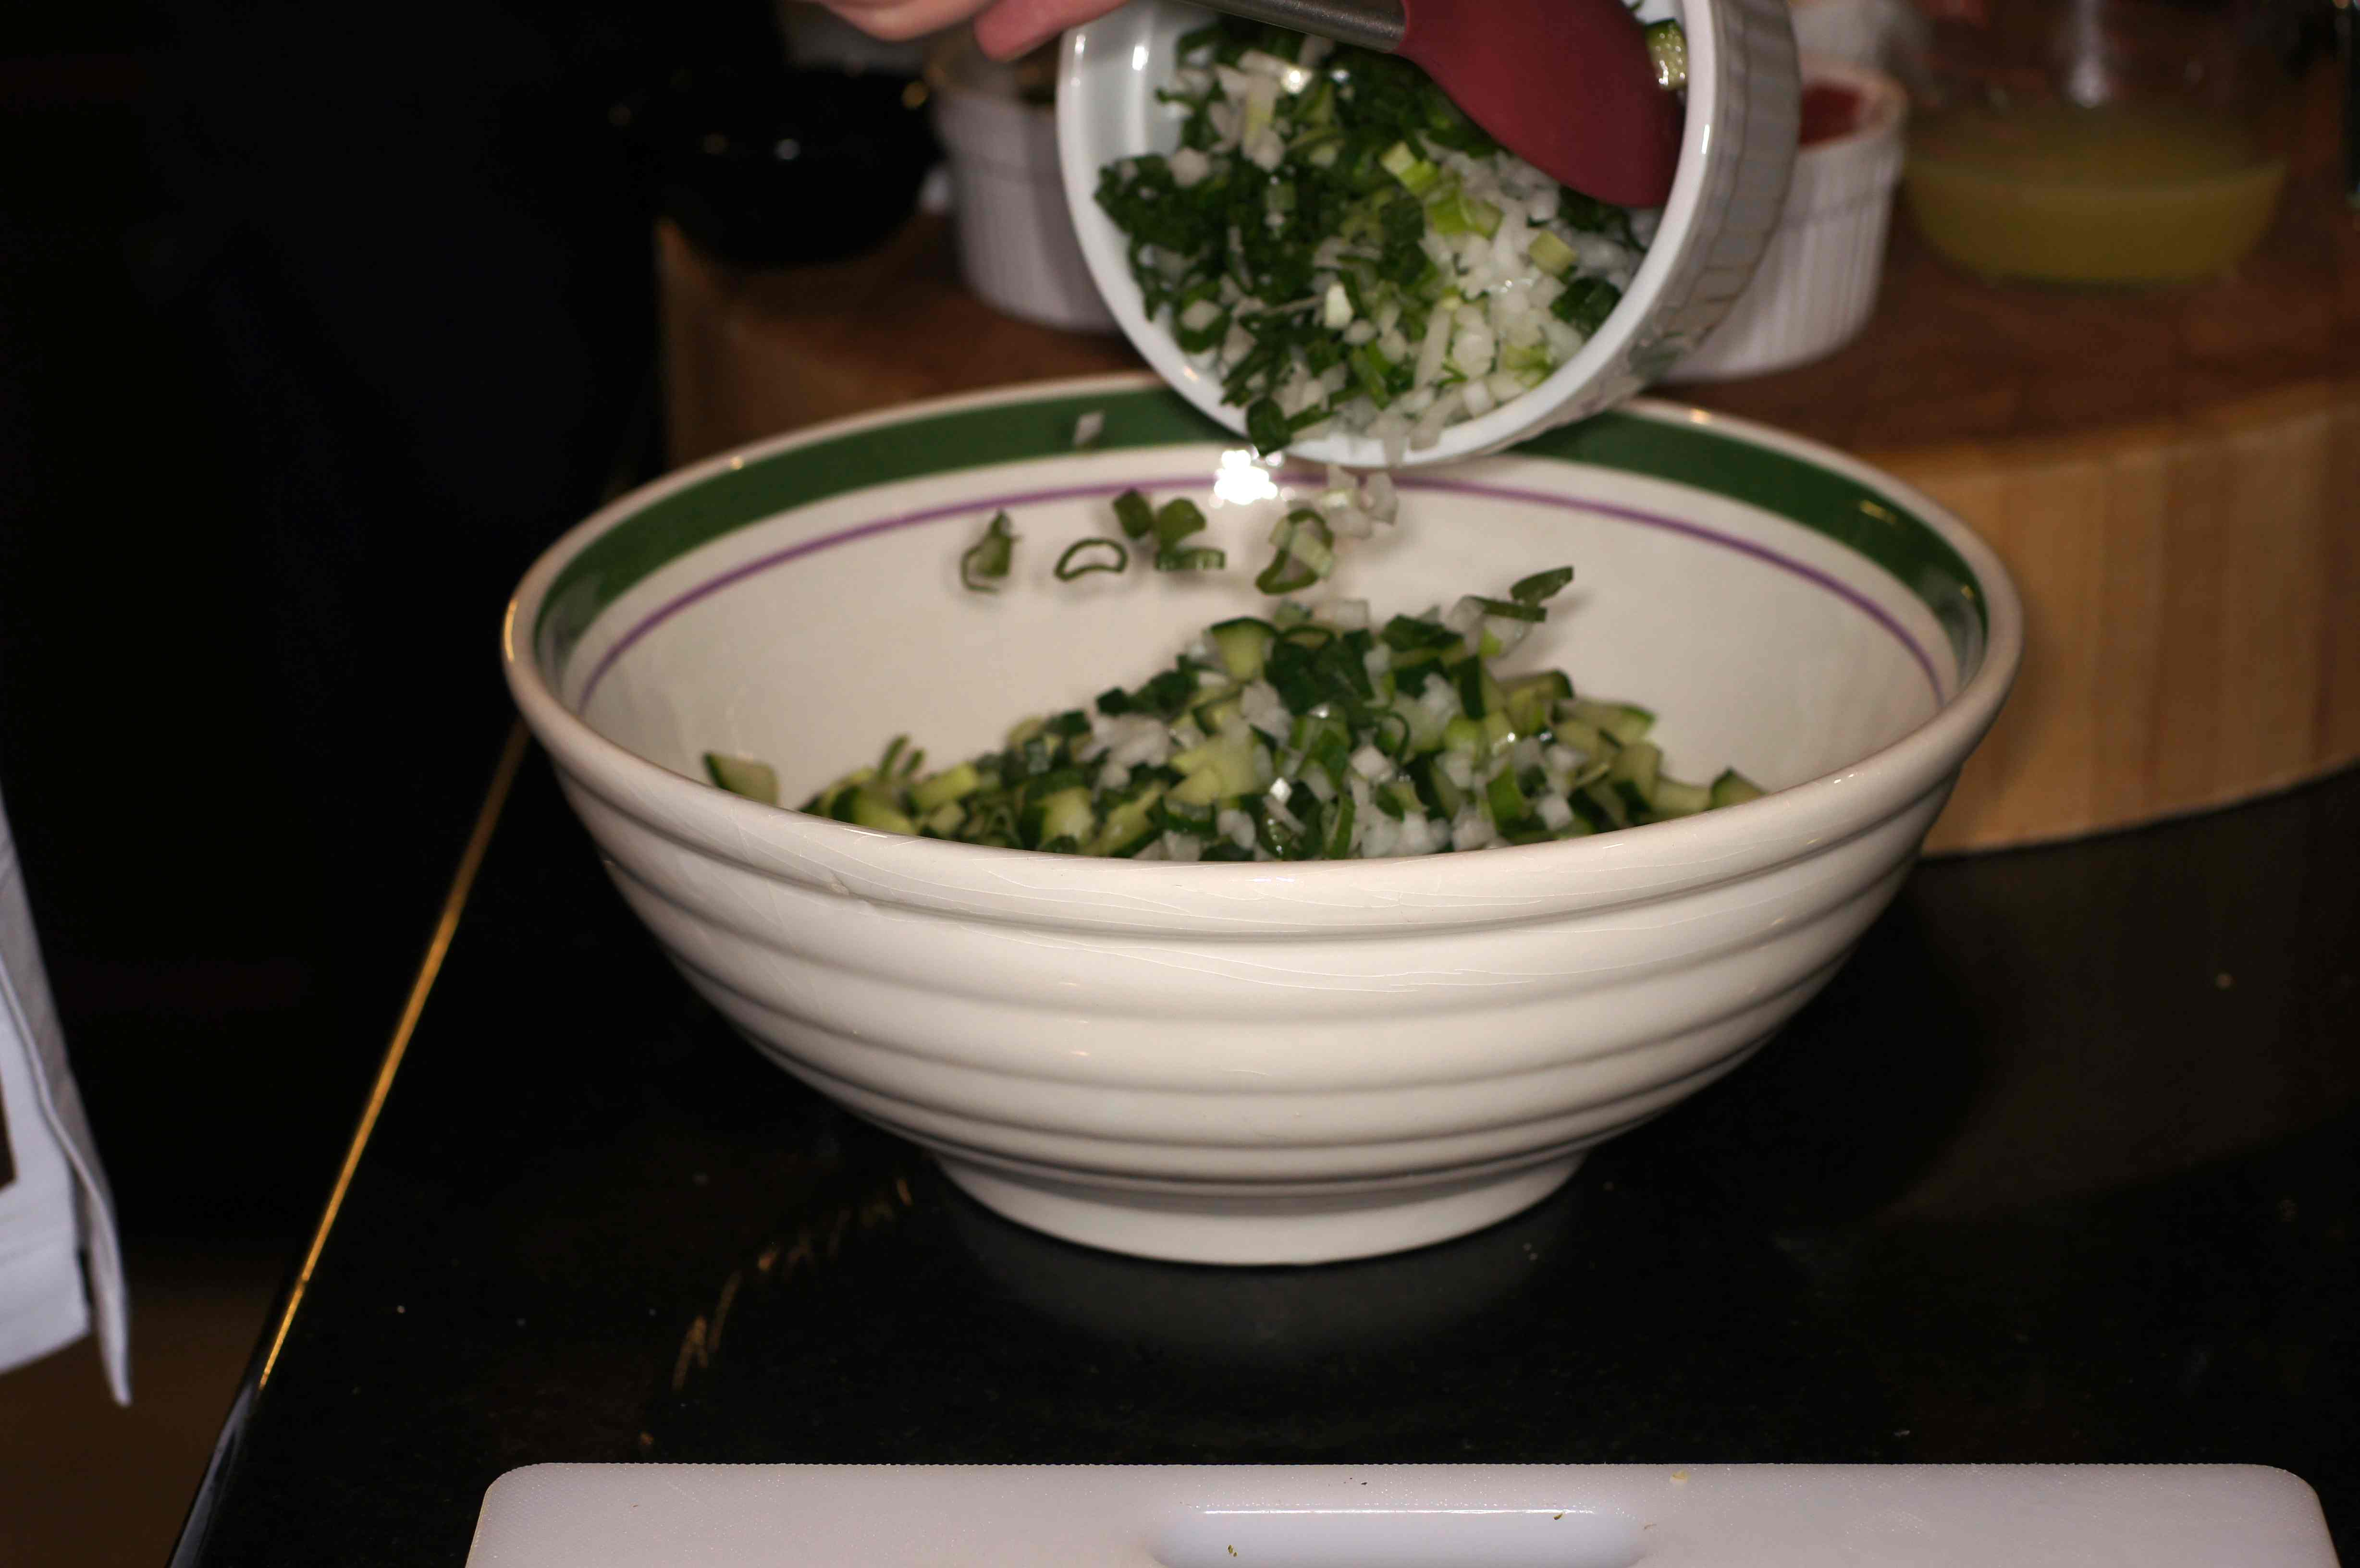
the yellow tomato
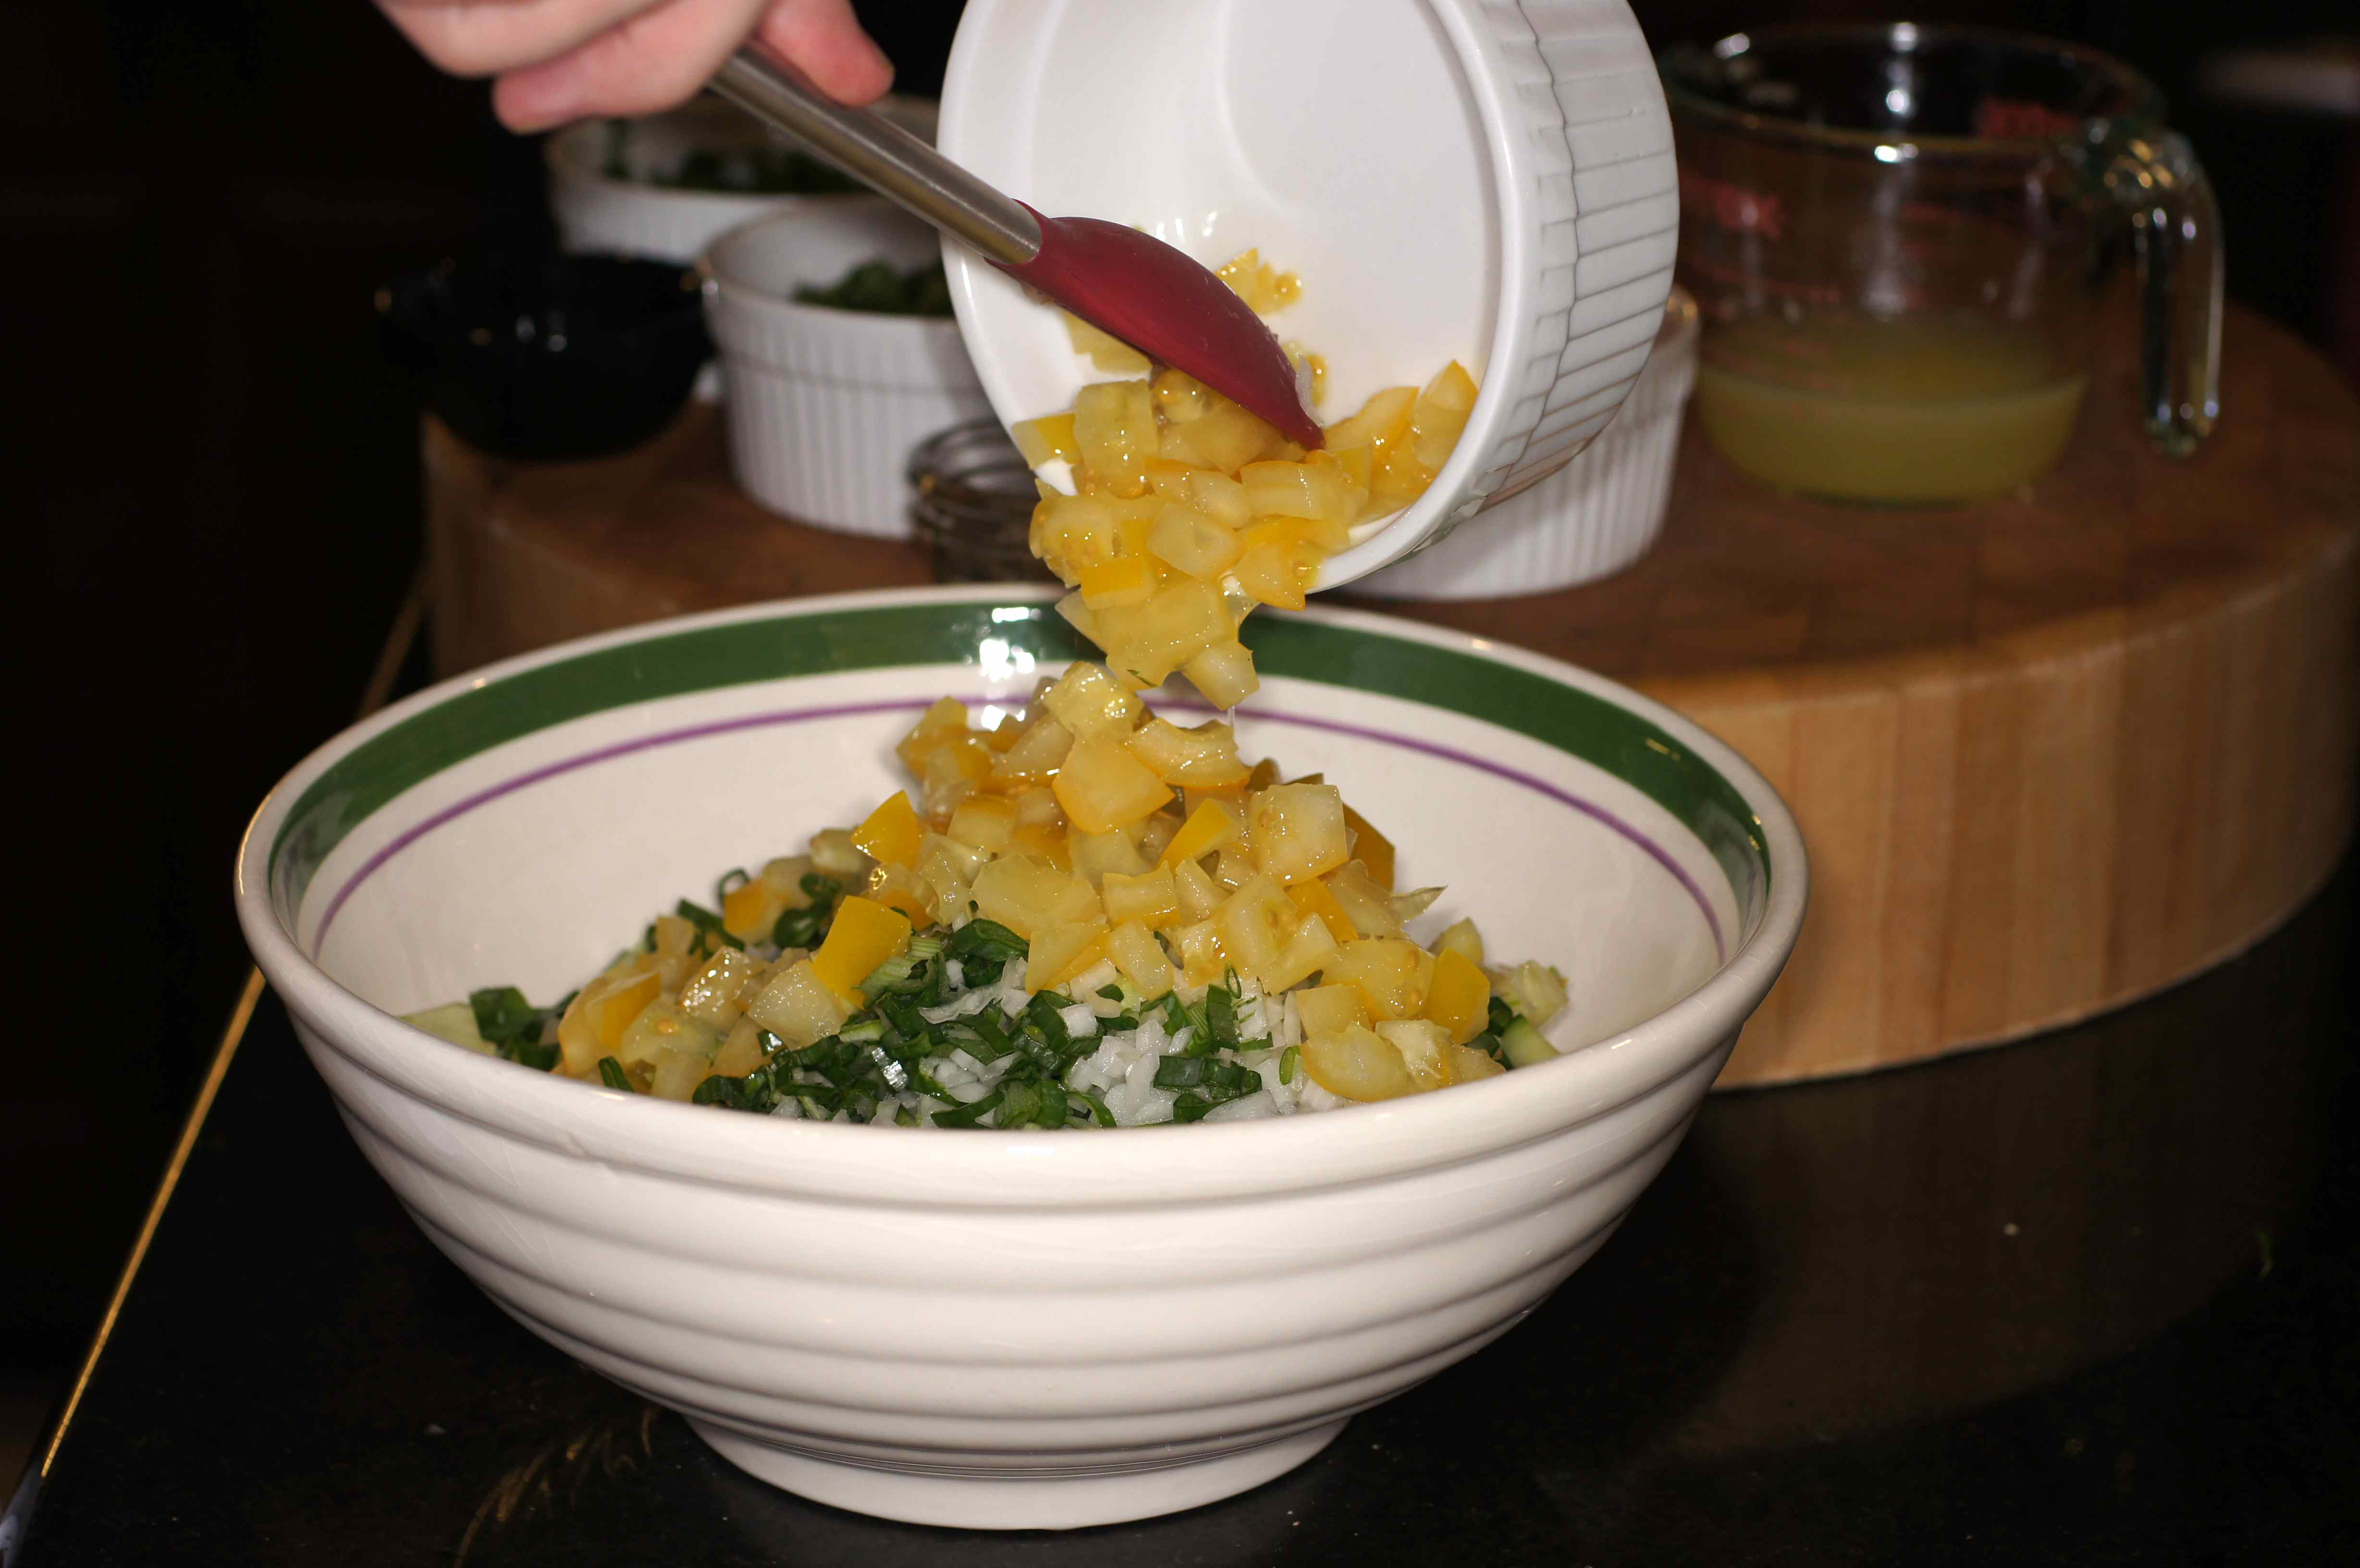
and the red tomato

the parsley

and mint

the black pepper

salt

and lemon juice
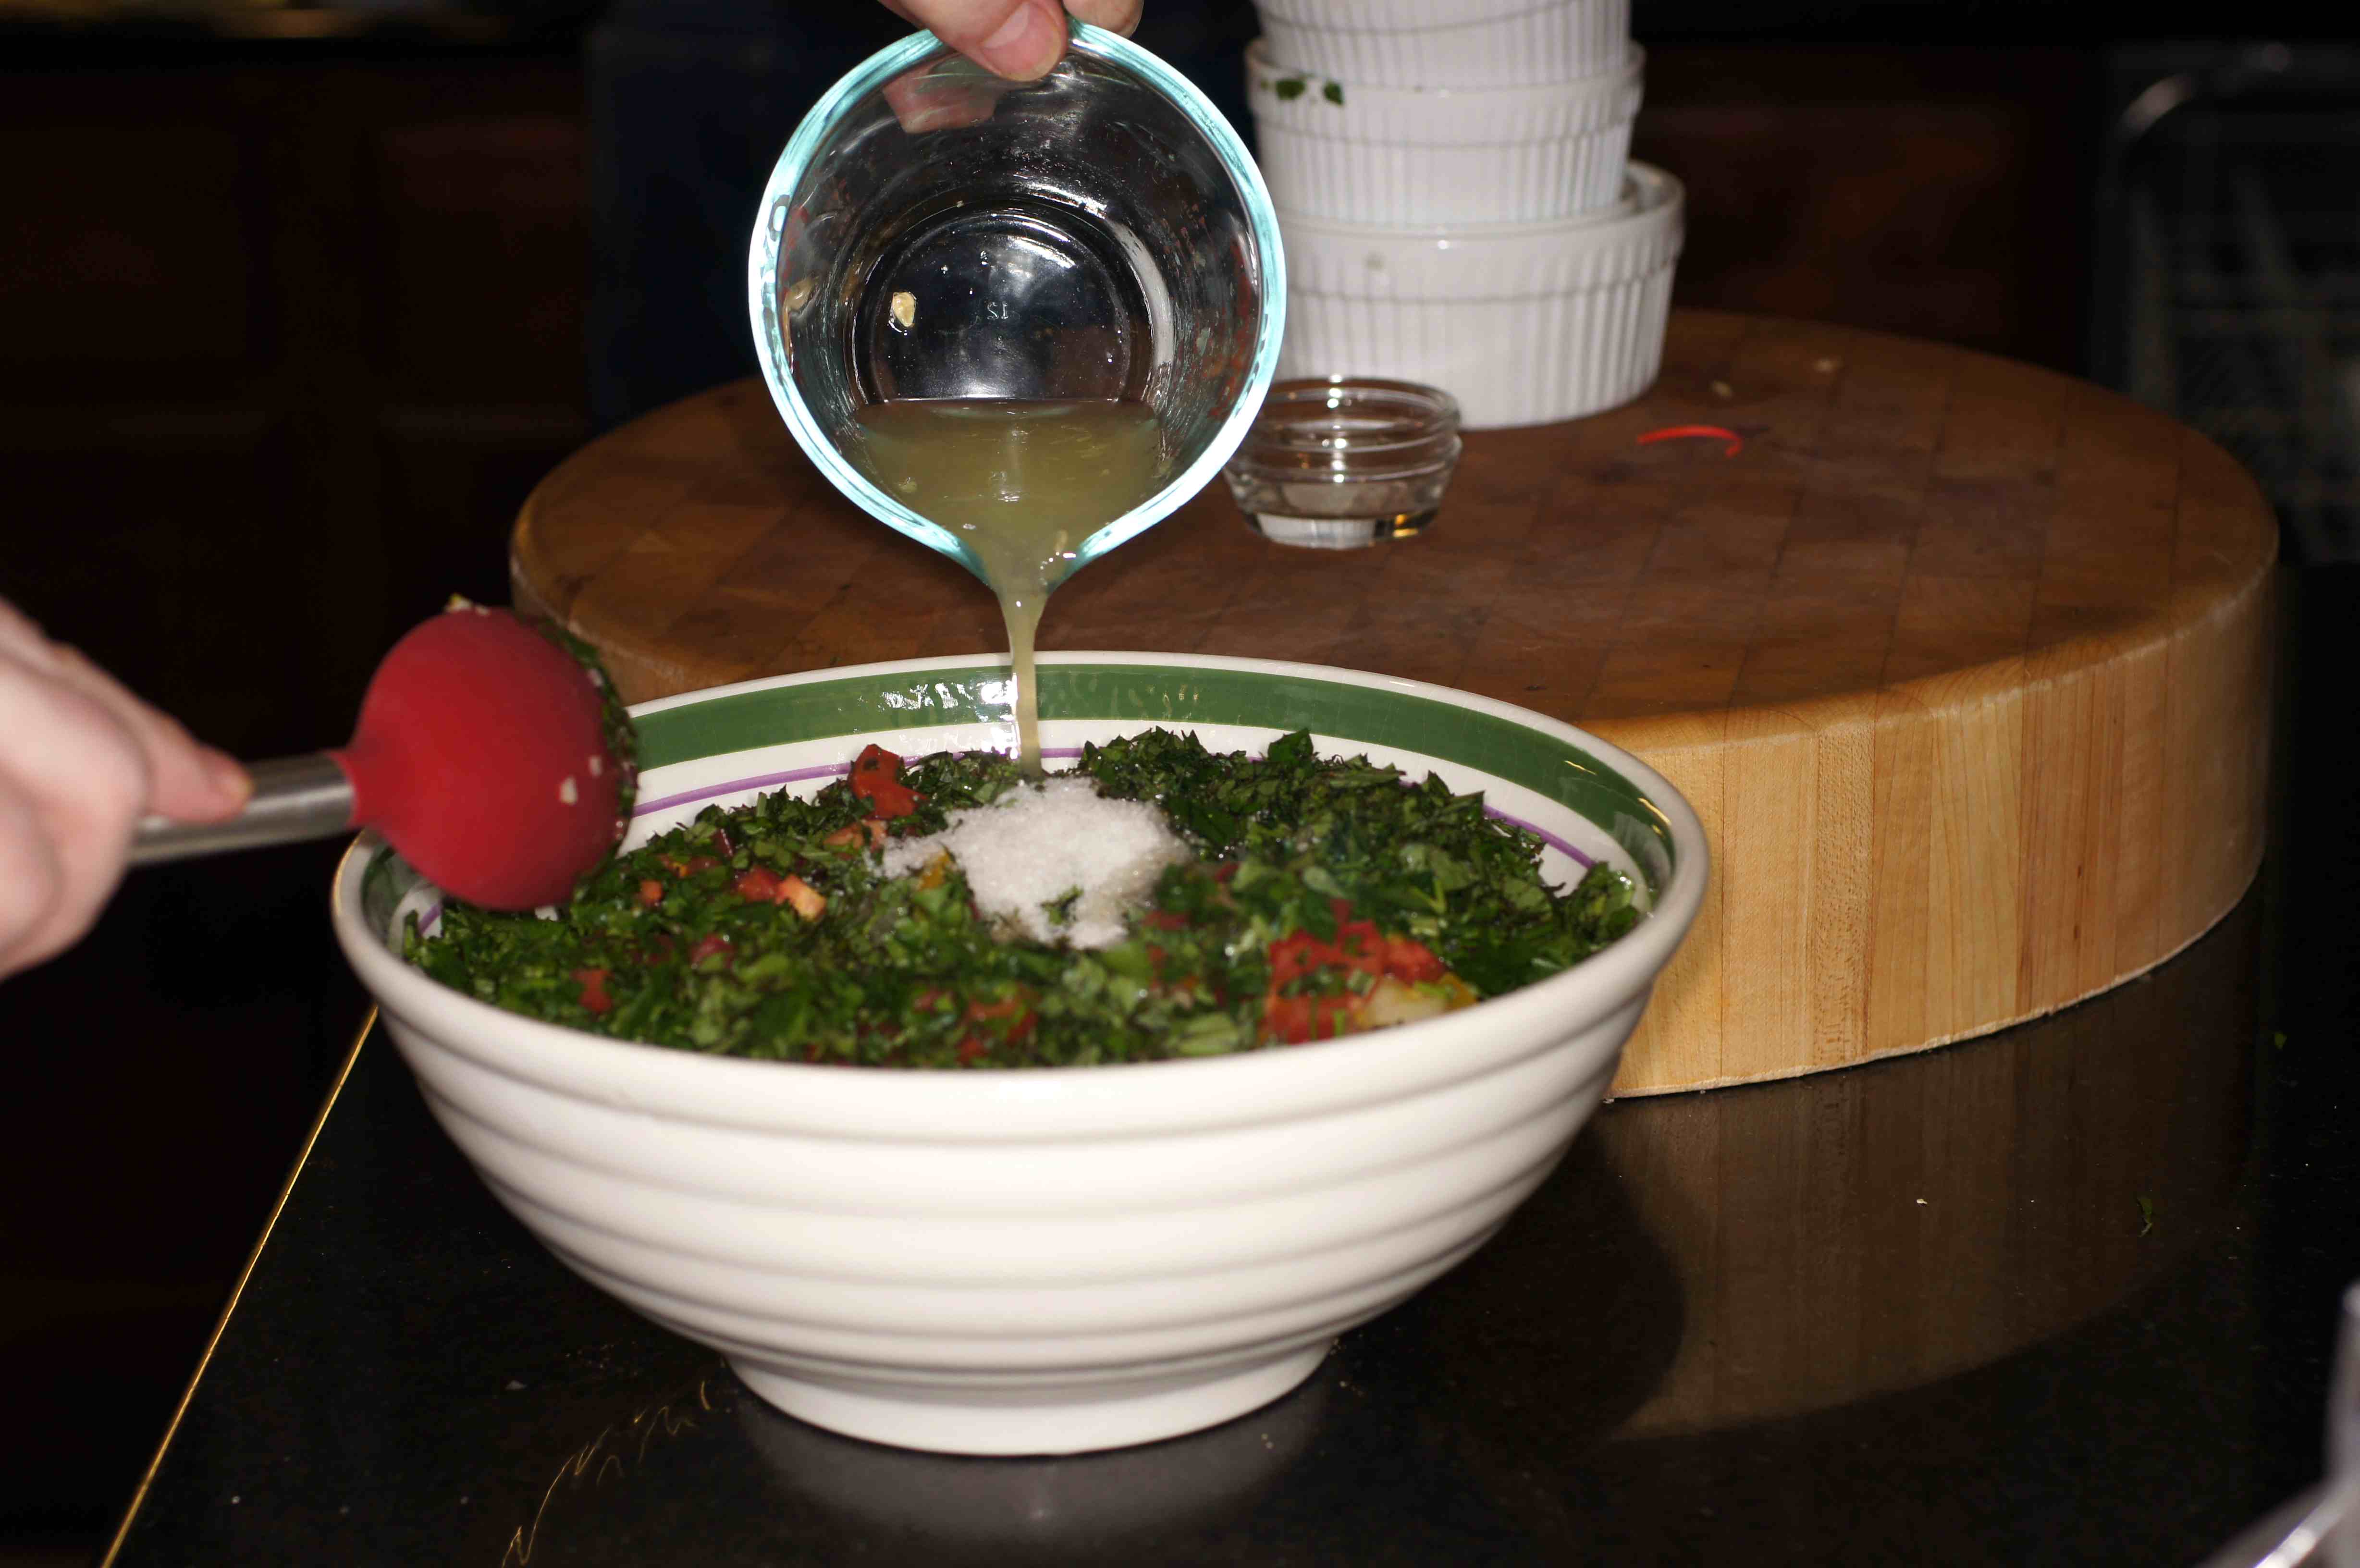
Mix together.

Finish with olive oil

Serve & enjoy.
NOTES: Depending upon your application you may want to vary the quantities. For instance, as a salad, you may want more mint and parsley with less bulgur. As a main course salad with meat, you may want to add a little minced garlic. It is very versatile and healthy, to boot. 🙂

Love the pepper shot. It looks like it would be really tasty indeed.
Baby Lady was giggling as she was taking photos going “Conor’s gonna hate me.” 🙂 She really is getting very good at the pouring shots.
She is. However, I got lucky and have one shot in the locker. It will appear in ‘the Smoker’ later on. You and Baby Lady will have to wait….
This looks like something I’d enjoy (yay! No cilantro). Never made this before. Despite our terrible weather I do have lots of fresh mint in the garden, too.
This is a wonderful dish.It’s a wonderful summer entree with chicken and a little garlic. You might want to give it a try. It’s really fresh and tangy. Kinda “zippy.”
What a fresh-looking salad, Richard, and a snap to make. With Summer right around the corner, this will make a great side for a number of light Summer meals. Thanks for sharing your recipe.
Thanks for the nice compliment, John. It is wonderfully fresh and lemony. Just the way the Baby Lady likes it. 🙂
This looks like a great side dish I’m interested in trying out. I’ve never grown mint before, but I have basil, cilantro, chives, and tarragon now. So now I have a question. How do you take the shots of you pouring in the ingredients? Do you use the timer on your camera or does someone else take them for you. I’m just curious. You are one of the first foodie blogs I’ve ever followed. 🙂
Hi, Kathryn. Thanks for the nice compliment and for following the blog. It’s been a lot of fun. Most of the pouring shots are taken by the Baby Lady because I get too involved in cooking and she does a really nice job with the prep photos. I do almost all of the plated shots. The pouring shots that I take, you simply have to get used to holding the camera in one hand, typically my right hand, and pouring with the other. It takes a little practice but after awhile you get the hang of it. It’s always better if someone else does it because the can concentrate solely on the photos. While I write the vast majority of the posts (99.99%), Baby Lady always helps with the cooking and photography. It’s our cooking blog, not just mine. 🙂
Well you both do a great job! You must be way more skilled than me with your camera, as I can barely walk and chew gum at the same time! I’d be afraid of dropping the camera in a pot of boiling water or hot bubbling sauce or something. Keep up the great work, both of you!
Ah, the only reason I don’t drop the camera is because I have the strap around my neck. 😉